
1 Deploy WordPress
1.1 Create Instance
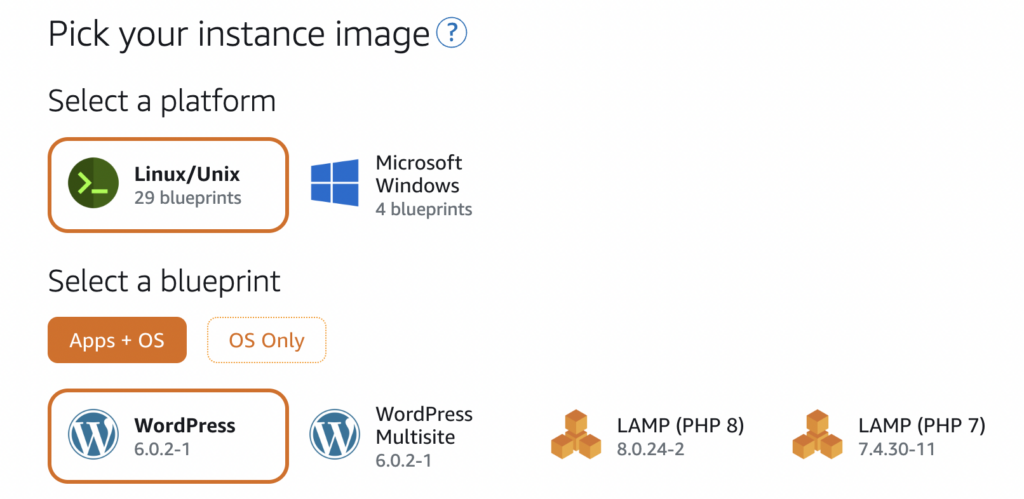
first of all, you create a AWS lightsail instance with wordpress app by this link https://lightsail.aws.amazon.com/ls/webapp/create/instance
1.2 Create Static IP
you can create a static ip an attach to you instance by this link https://lightsail.aws.amazon.com/ls/webapp/create/static-ip

1.3 Register Domain
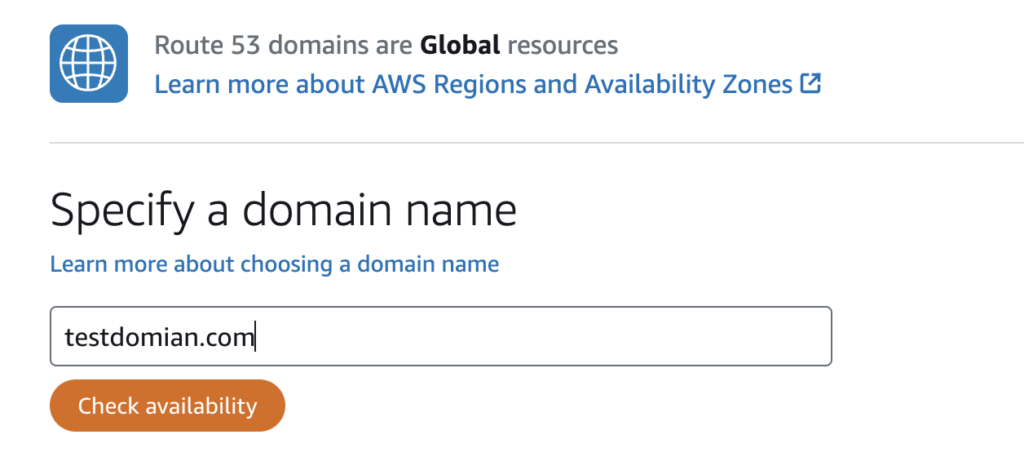
you also can register a domain on AWS by this link
https://lightsail.aws.amazon.com/ls/webapp/create/route-53-domain; such as testdomain.com
You should fill the "Registrant contact information" a us address, this address can be fake, AWS only verify by the email address
1.4 Assign Domain To Your Instance
Assign an subdomain you just register to you wordpress instance, such as subdomain.testdomain.com
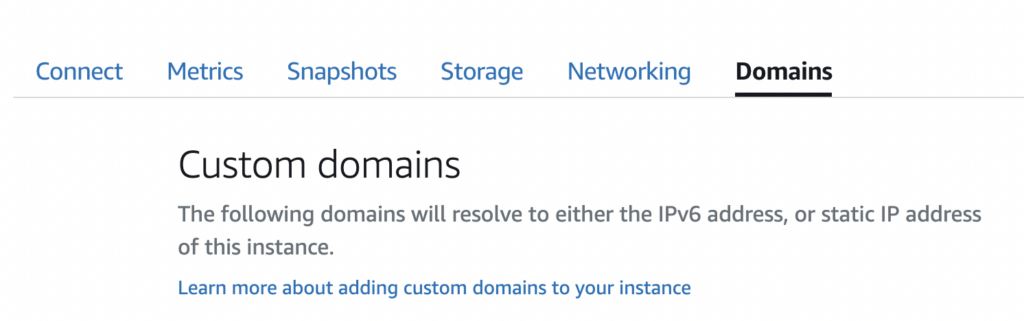
Now you can access your wordpress by the domain after a few minute, such as http://subdomain.testdomain.com
2 Configure WordPress
2.1 Enable Https
Detailed guidance documents already exist on the bitnami official website https://docs.bitnami.com/aws/apps/wordpress/administration/enable-https-ssl-apache/ & https://docs.bitnami.com/aws/apps/wordpress/administration/create-ssl-certificate-apache/ & https://docs.bitnami.com/aws/faq/administration/generate-configure-certificate-letsencrypt/
If bncert-tool warn "Certificates Not Renewed Automatically", do not worry, your ssl certificate is still ok, https://docs.bitnami.com/aws/how-to/understand-bncert/ and your cron task is create success ,you can visit by https https://subdomain.testdomain.com
crontab -l

46 3 * * * sudo /opt/bitnami/letsencrypt/lego --path /opt/bitnami/letsencrypt --email="yourmail@mail.com" --http --http-timeout 30 --http.webroot /opt/bitnami/apps/letsencrypt --domains=yourdomain --user-agent bitnami-bncert/1.0.3 renew && sudo /opt/bitnami/apache/bin/httpd -f /opt/bitnami/apache/conf/httpd.conf -k graceful # bncert-autorenew
2.2 Change Https Port
trojan use 443 port to pretend as a normal request, so we need change wordpress default https port from 443 to other port
- reference https://docs.bitnami.com/aws/apps/wordpress/administration/configure-port/ you can change 443 to 8443(any port as you want)
- you can execute
netstat -napto mark sure 443 port is not use
now you can visit by https https://subdomain.testdomain.com:8443
3 Install Trojan
trojan can run by shell command after download and unzip, thanks this blog as reference resources
# download
wget https://github.com/p4gefau1t/trojan-go/releases/download/v0.5.1/trojan-go-linux-amd64.zip
unzip -o trojan-go-linux-amd64.zip -d /usr/local/bin/trojan-go
rm trojan-go-linux-amd64.zip

# enable auto start
vim /etc/systemd/system/trojan-go.service
systemctl enable trojan-go

# config trojan
mkdir -p /usr/local/etc/trojan-go
vim /usr/local/etc/trojan-go/config.json
service
[Unit]
Description=Trojan-Go
After=network.target nss-lookup.target
Wants=network-online.target

[Service]
Type=simple
User=root
ExecStart=/usr/local/bin/trojan-go/trojan-go -config /usr/local/etc/trojan-go/config.json
Restart=on-failure
RestartSec=15

[Install]
WantedBy=multi-user.target
config
We can direct use SSLCertificateFile generate by bitnami as trojan server ssl file, official configuration document{
"run_type": "server",
"local_addr": "0.0.0.0",
"local_port": 443,
"remote_addr": "127.0.0.1",
"remote_port": 80,
"password": [
"yourpassword"
],
"ssl": {
"cert": "/opt/bitnami/apache/conf/subdomain.testdomain.com.cer",
"key": "/opt/bitnami/apache/conf/subdomain.testdomain.com.key",
"sni": "subdomain.testdomain.com"
}
}verify
- http://subdomain.testdomain.com/: get http wordpress page
- https://subdomain.testdomain.com/: get https wordpress page
- torjan-client [subdomain.testdomain.com - yourpassword]: proxy mode
4 Troubleshooting
4.1 Mixed Content
you can not visit http resource in a https page, so you should force https in wordpress page, https://docs.bitnami.com/aws/apps/wordpress/administration/force-https-apache/ , see also https://github.com/bitnami/bitnami-docker-wordpress/issues/318
4.2 Debug SSL
curl -v https://google.com
*   Trying 2404:6800:4004:81f::200e:443...
* Connected to google.com (2404:6800:4004:81f::200e) port 443 (#0)
* ALPN, offering h2
* ALPN, offering http/1.1
* successfully set certificate verify locations:
*  CAfile: /etc/ssl/certs/ca-certificates.crt
*  CApath: /etc/ssl/certs
* TLSv1.3 (OUT), TLS handshake, Client hello (1):
* TLSv1.3 (IN), TLS handshake, Server hello (2):
* TLSv1.3 (IN), TLS handshake, Encrypted Extensions (8):
* TLSv1.3 (IN), TLS handshake, Certificate (11):
* TLSv1.3 (IN), TLS handshake, CERT verify (15):
* TLSv1.3 (IN), TLS handshake, Finished (20):
* TLSv1.3 (OUT), TLS change cipher, Change cipher spec (1):
* TLSv1.3 (OUT), TLS handshake, Finished (20):
* SSL connection using TLSv1.3 / TLS_AES_256_GCM_SHA384
* ALPN, server accepted to use h2
* Server certificate:
*  subject: CN=*.google.com
*  start date: Nov  2 13:43:09 2022 GMT
*  expire date: Jan 25 13:43:08 2023 GMT
*  subjectAltName: host "google.com" matched cert's "google.com"
*  issuer: C=US; O=Google Trust Services LLC; CN=GTS CA 1C3
*  SSL certificate verify ok.
* Using HTTP2, server supports multi-use
* Connection state changed (HTTP/2 confirmed)
* Copying HTTP/2 data in stream buffer to connection buffer after upgrade: len=0
* Using Stream ID: 1 (easy handle 0x55c5a81b82c0)
> GET / HTTP/2
> Host: google.com
> user-agent: curl/7.74.0
> accept: */*
>
* TLSv1.3 (IN), TLS handshake, Newsession Ticket (4):
* TLSv1.3 (IN), TLS handshake, Newsession Ticket (4):
* old SSL session ID is stale, removing
* Connection state changed (MAX_CONCURRENT_STREAMS == 1
4.3 Debug Torjan
journalctl -u trojan-go -n 205 Others
after trojan client proxy test and browser https and https visit test, you can disable 80 and 8443(your wordpress https origin port) port by firewall, only retain 443 port to get every request!
